Photo by Joshua Woroniecki on Unsplash
Playwright's VS Code Extension
A tool for improving your frontend testing work flow
Installation
Playwright offers a Visual Studio Code extension that gives some handy features for improving your testing workflow. To install, go to the extensions tab of Visual Studio Code and search for "Playwright Test for VSCode." It's the extension offered by Microsoft. Click install.
Running tests
Once installed, you'll have a special tab in your project for testing. Your test explorer allows you to filter tests and provides a dropdown menu of your tests folder demonstrating the structure of your tests. You'll see the tests folder, the specific test file, and that broken down into each test.

From your test explorer, you can run your tests, or you can choose to do so in the file itself. A green play button will show up on the left of each test when you install the VSCode extension. All you have to do to run your test is click that play button!

Test output
Once you do so, test output will appear right inside of your test file as well, in the form of either a green check (meaning the test passed), or an error message. The error message is expandable and contains information about which part of the file the test failed at.

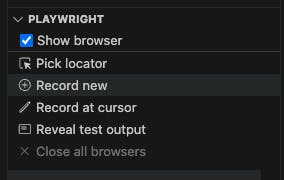
Show browser
There are other things you can do with the extension! You can toggle whether you'd like the browser to open when you run your test.

Record a test
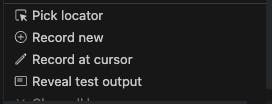
You can record a new test using the VSCode extension. This is useful if you want to quickly get a test written without picking your locators yourself. To do so you'll navigate to the testing sidebar and select "Record new."

Then a browser will open up which will allow you to click through your desired webpage as you would as a user. Meanwhile, Playwright will record your activity as a new test.

This is the test that was recorded for me for navigating to my blog page and clicking on my name.
import { test, expect } from '@playwright/test';

test('test', async ({ page }) => {
  await page.goto('https://madelinecaples.hashnode.dev/');
  await page.getByText('Madeline Caples').click();
});
Pick locators
In a similar process to recording a new test, you can pick locators using the VSCode extension. In the same testing sidebar, select "Pick locator."

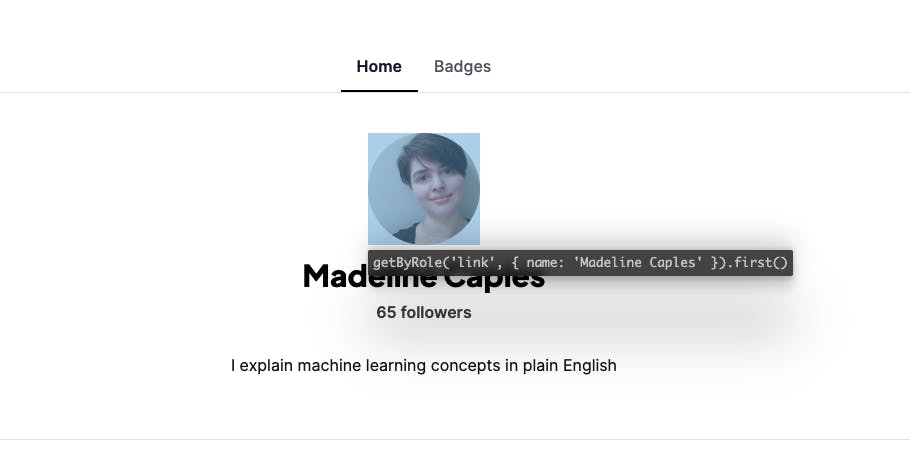
Once again, a browser will open for you to click around in. You'll be able to see your locator in the browser, but you won't be able to copy and paste it from the browser.

Instead, navigate to your VSCode editor. You'll have a section captioned "Locator" open up at the top of the screen. From there you can copy your locator for pasting into your code.

Going further
This article walked you through the process of getting started with Playwright's VSCode extension. If you enjoyed this you might like my other Playwright posts:
Also check out Playwright's documentation on the VSCode extension, which provides details on live debugging which I did not cover here.
